
How to Use a 3D Rendering to Get Sharper, More Competitive Bids From Contractors
Learn how to use 3D renderings to get better bids from contractors in Scottsdale, AZ. Clearer plans mean sharper numbers, fewer surprises, and faster project starts.
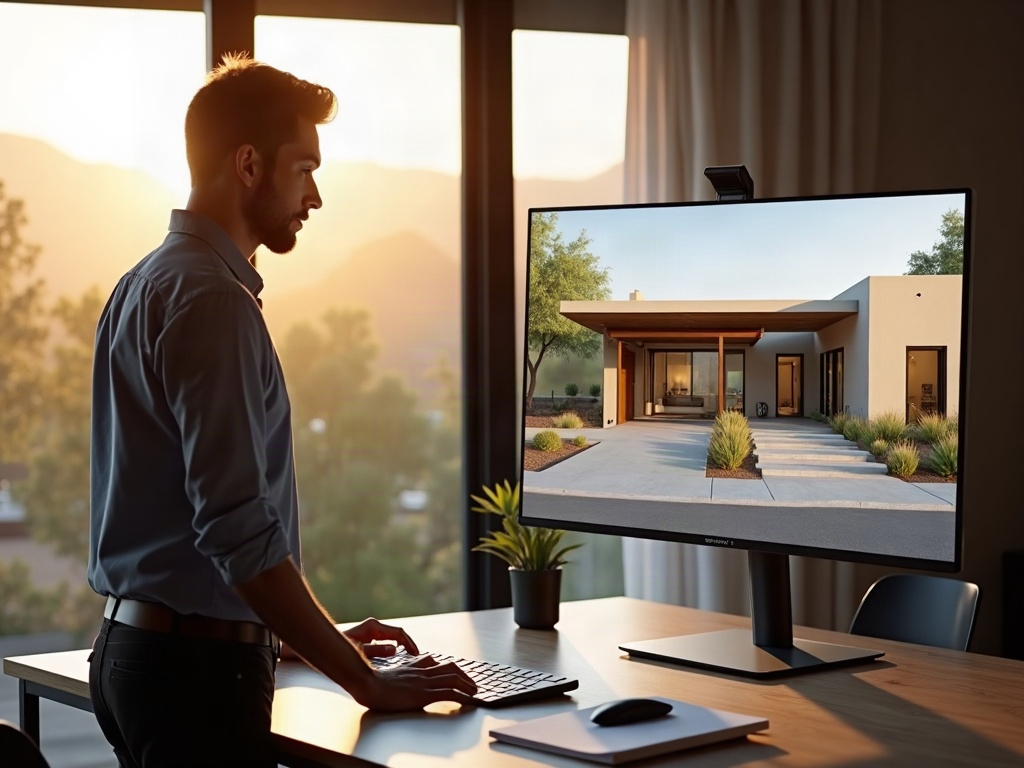
I’m Eric, and after decades of managing custom builds and major remodels across Scottsdale, AZ and the surrounding Paradise Valley corridor, I can tell you the single biggest reason bids come back wildly inconsistent: contractors are pricing a guess, not a plan. When you hand someone a napkin sketch or a vague scope sheet, every number they give you includes a buffer for the unknown. A photorealistic How to Use 3d Renderings to Get Better Bids changes that dynamic completely — and it’s one of the smartest moves a detail-oriented homeowner can make before a single contractor walks the site.
Why Vague Plans Produce Vague Bids
Here’s what actually happens when a contractor bids off a rough concept: he imagines the project. You imagine the project. You’re probably not imagining the same thing. One of you pictures a 10-foot kitchen island; the other assumes eight feet. One sees a coffered ceiling; the other bids a flat drywall box. Those mismatches don’t surface until framing starts — and by then, changes cost real money.
Homeowners planning additions or ground-up custom homes near Old Town Scottsdale or along Shea Boulevard know this pain well. You get three bids back with a $60,000 spread and no idea why. The lowest number looks attractive until you realize it excludes half the finishes you described verbally. A photorealistic 3D rendering hands every bidder the same visual truth, so you’re comparing apples to apples for the first time.
What How to Use 3d Renderings to Get Better Bids Actually Resolves for Contractors
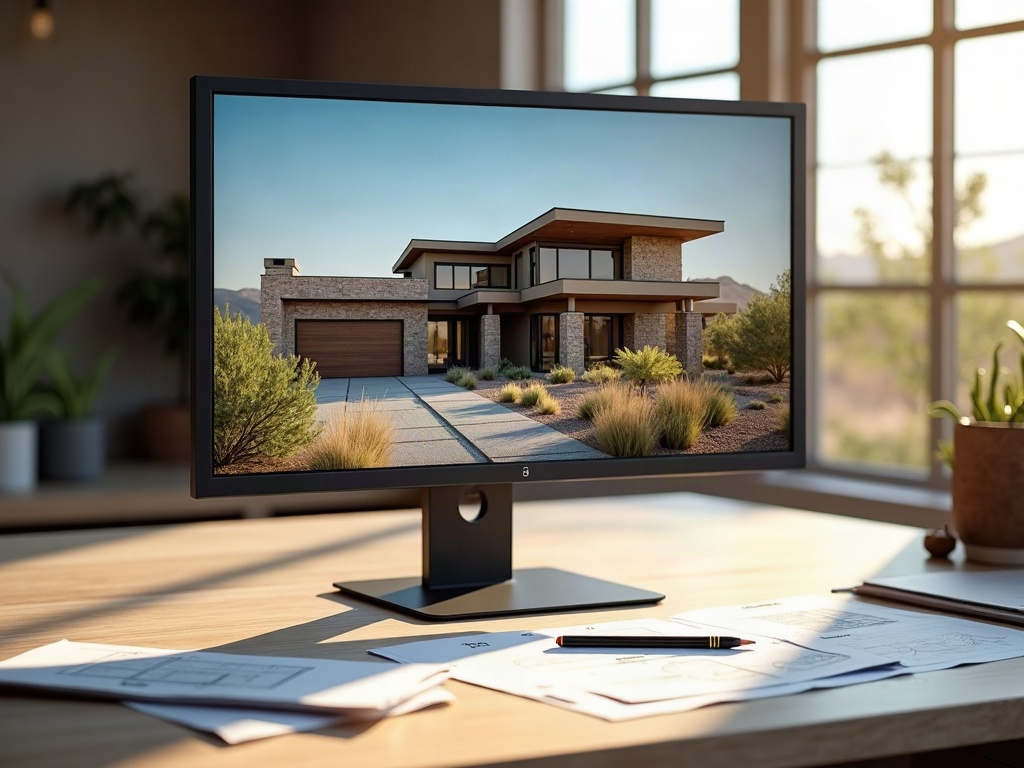
A well-built rendering isn’t just a pretty picture. It communicates decisions that would otherwise live in a homeowner’s head — and it forces those decisions to happen before bidding, not during construction. Here’s what contractors can actually price off a rendering:
- Exterior material selections — stucco profile, stone veneer, window framing style
- Roof pitch and overhang depth, which drive both framing and roofing labor
- Ceiling heights and any specialty ceiling treatments (beams, coffers, vaults)
- Site orientation relative to existing structures — critical for additions on tight Paradise Valley lots
- Outdoor living elements like covered patios, pergolas, or outdoor kitchen configurations that may need permit drawings
When a contractor can see exactly what he’s building, his contingency shrinks. That savings typically flows back to you as a sharper number — and a contractor who bids confidently is also more likely to hold that number through construction.
The rendering forces decisions that would otherwise cost you change-order dollars. Make those decisions on screen, not on-site.
How to Put a Rendering to Work Before You Solicit Bids

The sequence matters. Most homeowners get the order wrong — they talk to contractors first, then think about drawings. Flip it. Here’s the process that actually works:
- Start with a conceptual design session. Lock in the massing, layout, and key design decisions through a structured conceptual design process before any drafting begins.
- Produce the 3D rendering. Review it, request revisions, and get every visual decision confirmed in writing before you move forward.
- Share the rendering with every bidder simultaneously. Give each contractor the same image set and a written scope sheet derived from it. Apples to apples.
- Use the rendering during interviews. Ask each contractor to walk you through what he sees. The ones who ask smart questions about what’s behind the rendering — structural implications, MEP coordination — are the ones worth a second conversation.
- Move to permit-ready drawings. Once you’ve selected your contractor, the rendering becomes the foundation for construction documents that can actually go to Maricopa County for plan check.
If you want to understand why plan check rejections happen — and how clean drawings prevent them — read our breakdown on why plans get rejected at the building department. It’s a quick read that will save you a painful delay.
For larger projects — think a multi-structure compound in Paradise Valley or a teardown-rebuild in North Scottsdale — a rendering of the full site is worth considering. A single-building view often misses how structures relate to each other, which matters for grading, drainage, and setback compliance. We covered that in detail in our post on what a 3D rendering of a multi-structure property actually shows.
What This Costs — and Why It Pays for Itself
A photorealistic rendering from a reputable drafting service typically runs a few hundred to a couple thousand dollars depending on project complexity — a fraction of what a traditional architecture firm charges just to open a file. If it tightens a $300,000 remodel bid by even 5%, the math is obvious. For homeowners who’ve already been quoted $8,000+ by a full-service architect just for drawings, the comparison is even sharper. You can see the real cost breakdown in our post on how much you actually save using a drafter instead of an architect.
The National Association of Home Builders consistently highlights pre-construction visualization as a tool that reduces costly mid-project changes — because decisions made on screen are orders of magnitude cheaper than decisions made in the field. You can review their residential construction data and guidance at nahb.org for additional context on how pre-construction planning affects project outcomes.
Ready to stop guessing and start building with confidence? Call Ghost Drafters at (480) 900-7060 and let’s get your project visualized before the first contractor sets foot on your property. You can also explore our full design-build drafting and rendering services to see exactly what we deliver.